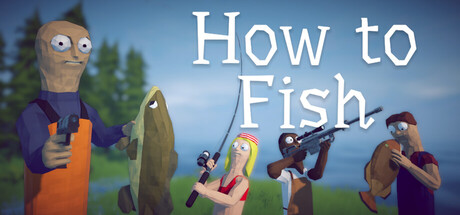
How to Fish: Complete Guide & Walkthrough
All 5 islands, every boss and the bait that summons it, how to make money, the Islet Update, and post-game collecting. Current to Patch 1.1.3.
1How the game works
You crash your boat on a tiny island. To get home you fish → kill → sell, buy better gear, and do a quest on each island. Each quest gives you a special bait that summons a boss. The boss drops a trophy, you hand it to the island's NPC, and they show you where the next island is on your radar.
Core controls (default PC)
- E pick up an item, or buy from a shop
- Q (hold) throw. Throwing an item into a shopkeeper's mouth is how you sell it
- F inspect a held item: live value, cook multiplier, weight, killscore
- Cast and reel with the rod. A hooked creature gets pulled onto land and then fights back
- Patch 1.0.11 added toggle aim, toggle sprint, and hold-to-attack. Patch 1.1.2 added reload rebinding
Survival rules
- Hunger is a backup health bar. It heals you over time. When it hits zero, you start taking damage. Eat clams and fish often.
- Hands hold 3 items at the start. Buy the Extra Inventory Slot on every new island right away.
- Bosses have a white escape bar under their HP. If it runs out, the boss leaves and you have to summon it again.
- Before a boss fight, put cooked food on the ground nearby so you can heal fast. Spider Crab meat ($4) refills both health and hunger.
2The story route at a glance
Tap a step below to tick it off. Your progress is saved in this guide.
Island 1: The Lighthouse
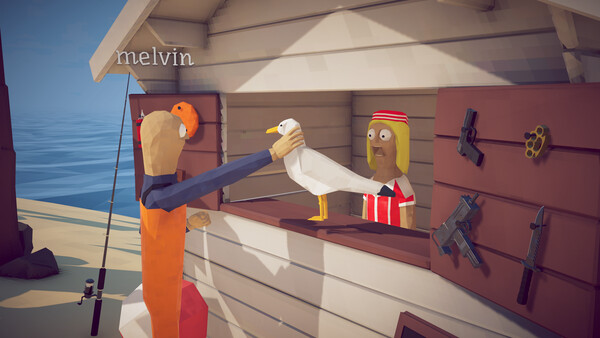
The tutorial island. You only have clams, a crab rod, and melee weapons. The Lighthouse Keeper on the bench is your shop and sell point.
- Pick up clams along the shore. Eat some, and throw the rest into the Keeper's mouth for $1 each.
- Buy the Crab Fishing Rod (about $3). With no bait it catches Shrimp and Brown Crab. Sell them to the Keeper.
- Buy the Knife, then sharpen it at the anvil by the lighthouse door to 20 damage. Brass Knuckles also work.
- Buy Hot Dog bait ($1 each). It catches Rock Crab ($7) and Lobster ($9), which pay much better.
- Buy a Beer and throw it to the Lighthouse Keeper. He gives back an Empty Beer Can.
- Put the can on your rod as bait and cast. You'll hook the Spider Crab (750 HP).
- Feed the crab shell/meat to the Keeper and he gives you the boat keys. Buy the Radar ($10) next to him.
- Get in the motorboat and sail to the green dot on the radar.
Island 2: Forest
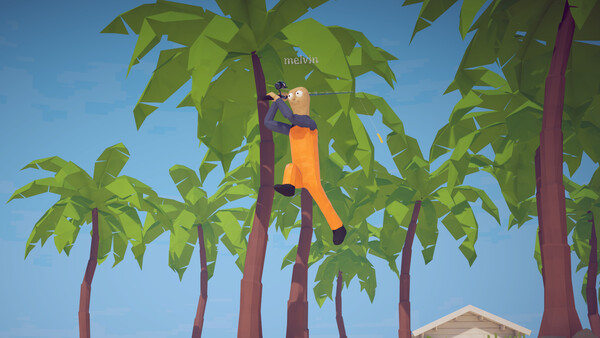
This island adds guns (Pistol, Shotgun), the real Fishing Rod, Beginner Lures, Dynamite, and trick-shot bonuses.
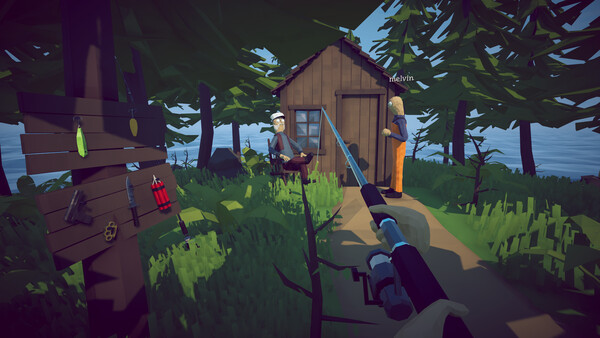
- Buy the Extra Inventory Slot and the Fishing Rod. Use Beginner Lures for Cod, Salmon, Perch, Goldfish, and others ($4–24 each).
- Buy the Shotgun and its cheap damage upgrade. It's one of the best guns in the game, and much better than the Pistol here.
- Pick up 3 Leeches from the ground around the forest and lake. They aren't fished, so don't cast for them.
- Give all 3 Leeches to the woman by the lake. She gives you Leech Bait.
- Fish with Leech Bait to hook the Giant Piranha (2,500 HP), which comes with a swarm of small piranhas.
- Give the Piranha Skeleton to the woman. She marks Island 3 on your radar.
- Buy the Big Motor boat upgrade (optional if you're short on cash), then follow the yellow dot.
Island 3: Desert
A bigger shop with the SMG, gun attachments, Standard Lures, and the Boat Radar upgrade. The Grill Master and a scared Tourist live here.
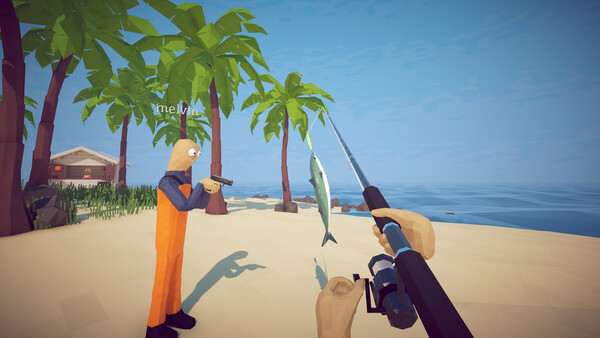
- Buy the Extra Inventory Slot and the SMG. Keep it, because it's still useful on Island 4.
- Fish with Standard Lures for $46–150 catches.
- Optional but recommended: buy a Standard Boss Lure and kill the Blue Shark (2,300 HP). Give it to the Grill Master to get a Lighter, then light the grill.
- Catch an endangered fish (Needlefish, Seahorse, or Bowlfish, all on Standard Lure) and feed it to the Tourist under the tree. He gives you a Carrot.
- Fish with the Carrot to summon the Pufferfish (18,000 HP).
- Give the Pufferfish Fin to the Tourist to get the Island 4 coordinates.
- Buy the Boat Radar upgrade, which mounts the radar on the boat so you don't have to hold it. Then follow the red dot.
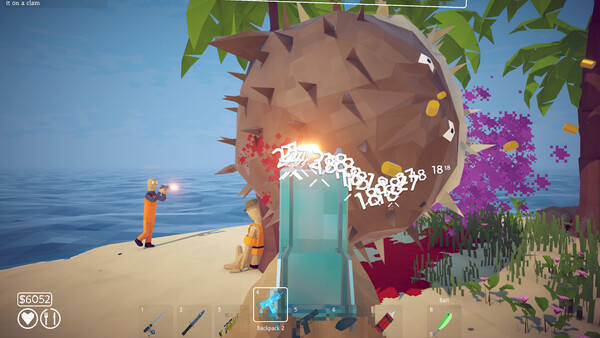
Island 4: Rocks
Has Professional Lures, a separate gun shop (Sniper Rifle and attachments), a grill, and the Reel of Fortune roulette table. The quest giver is the man hiding in the shop.
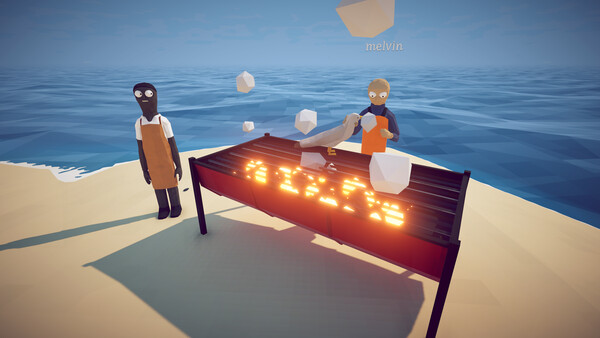
- Buy the Extra Inventory Slot. Fish with Professional Lures for $250–380 catches.
- Buy the Sniper Rifle and upgrade your SMG. Attachments like the Compensator, Laser, and Red Dot help.
- Buy a Professional Boss Lure ($1,200) and hook the Tuna (5,000 HP). Dodge its leaps. The Shotgun works well against it.
- Carry the dead Tuna to the grassy patch in the middle of the island and drop it there. Don't sell it or cook it.
- The Albatross (7,800 HP) arrives. Kill it, then take its head to the man in the shop.
- Sail to the magenta/pink dot, which is the Volcano.
Island 5: Volcano
There's a military camp that sells the Assault Rifle, Scientific Lures, and the Scientific Boss Lure. The Scientist in the yellow hazmat suit gives the quest. Dropping items in the lava cooks them to exactly ×1.5 and they never burn.
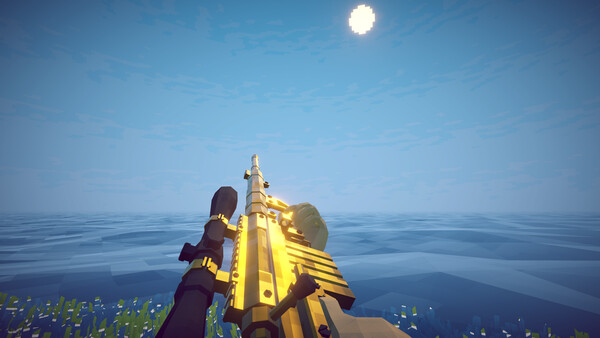
- Buy the Assault Rifle and its damage upgrades, and upgrade your Sniper. You can sell the SMG now.
- Feed the Scientist any 5 items, such as fish, snails, or beers (speedrunners use 5 Beers). Destructoid used Volcano fish caught on Scientific Lures. She gives you the Fish Bucket.
- Fish with the Fish Bucket to summon the Bowhead Whale (20,000 HP).
- Pick up the whale body. Find the wooden plank near the military camp and climb the path to the volcano summit, jumping across the gaps.
- Throw the whale into the crater to summon the Mutated Bowhead Whale (38,000 HP). Jump back down to the camp to fight it.
- Feed the Whale Fin to the Scientist and she gives you the keys to the black military boat.
- Board the black boat and follow the prompt to the mainland. Credits. The finish only counts when the boat sequence plays, not when the boss dies.
• Hide in the armoury and only step out to shoot while the whale is in the air.
• Against the Mutated Whale, you can use the boat to get away from where it lands and shoot it while it's in the air. An older cheese was patched out, but the boat still works.
• Stock up on lava-cooked food before you summon it. Use the Assault Rifle, the Sniper, and Dynamite.
3Every boss & mini-boss
HP and base values come from the game's files (build for patch 1.1.3). Story bosses drop trophies and can't be sold. Mini-bosses can be sold, cooked, and gambled.
| Creature | Type | How to summon | HP | Base value | Best tools |
|---|---|---|---|---|---|
| Spider Crab | Story | Empty Beer Can (Island 1) | 750 | Trophy | Sharpened Knife, sidestep charges |
| Giant Piranha | Story | Leech Bait (3 Leeches, Island 2) | 2,500 | Trophy | Upgraded Shotgun, kite in circles |
| Pufferfish | Story | Carrot (endangered fish to Tourist) | 18,000 | Trophy | SMG, trees as blockers |
| Albatross | Story | Dead Tuna on Island 4's grassy center | 7,800 | Trophy | SMG / Sniper, hide indoors |
| Bowhead Whale | Story | Fish Bucket (5 items to the Scientist) | 20,000 | $8,000 | AR + Sniper + Dynamite |
| Mutated Bowhead Whale | Final | Throw the Bowhead body into the volcano | 38,000 | Trophy | AR, boat to keep your distance |
| Sunfish | Mini | Beginner Boss Lure (50%), rarely Beginner Lure | 1,500 | $50 | Shotgun |
| The Old Pike | Mini | Beginner Boss Lure (50%) | 1,000 | $80 | Shotgun |
| Blue Shark | Mini | Standard Boss Lure (also rare on Standard Lure) | 2,300 | $300 | SMG. Watch for its spinning attack. Easier with Island 4 gear |
| Tuna | Mini | Professional Boss Lure ($1,200) | 5,000 | $2,000 | Shotgun, dodge leaps (nerfed in 1.0.12) |
| Goblin Shark | Mini | Scientific Boss Lure ($5,800, Island 5) | 7,500 | $6,200 | Assault Rifle. Best single sale in the game |
| Manta | Islet | Throw the dark oil barrel into the sea on the Oil Islet | 8,400 | €60* | Bow or AR |
| Bing Bong | Secret | Odd-colored Coconut (Island 2) as bait | 2,000 | $300 | Endangered, so ×1.25. Has a rare "evil" form |
*The Manta's euro value is from 1.1.2 data. One guide reports €79–99, so check it with F in game.
4Bait → what it catches
Fish aren't locked to islands. The bait decides the catch, and each tier of bait is sold on the matching island. Since patch 1.1.3, the Fishipedia shows a creature's bait after you've killed it once. Values are base prices before size, cooking, and killscore bonuses.
| Bait | Where | Catches (base value) |
|---|---|---|
| Ham / empty Crab Rod | Free (Crab Rod) | Brown Crab $3, Shrimp $5 |
| French Fry / empty Fishing Rod | Free (Fishing Rod) | Gar $5, Mackerel $6, Pike $12 |
| Hot Dog | Island 1, $1 | Rock Crab $7, Lobster $9 |
| Beginner Lure | Island 2 | Piranha $4, Cod $10, Carp $12, Goby $12, Pike $12, Salmon $14, Perch $18, Triggerfish $18, Goldfish $24 · rare Sunfish |
| Standard Lure | Island 3 | Catfish $46, Clownfish $46, Koi $48, Sea Urchin $52, Yellow Boxfish $53, Needlefish $60🟢, Bluegill $62, Angelfish $62, Seahorse $100🟢, Bowlfish $150🟢 · rare Blue Shark |
| Professional Lure | Island 4 | Bass $250, Sengarat $280, Eel $280, Red Snapper $280, Halibut $290, Dogfish $310, Tigerfish $310, Flying Fish $320, Voxel Fish $340🟢, Parrotfish $350, Dripper $380🟢, Seahorse · rare Tuna |
| Scientific Lure | Island 5, ~$500 | Blobfish $1,360, Tripod Fish $1,400, Oarfish $1,450🟢, Stonefish $1,500, Anglerfish $1,500, Superdwarf Fish $2,200🟢 |
| Crab Carcass New | Found on an Islet | Alaska Pollock €4, Starfish €4, Sponge €4, Amberjack €5, Char €5, Tench €5, Squid €6, Mahi-Mahi €6 (all pay euros) |
🟢 = Endangered: ×1.25 killscore, and counts for the Tourist quest if caught on Standard Lure. Some older guides list Superdwarf at $1,700. $2,200 is the 1.1.3 file value.
5Making money
Sell price = base value × size × cooking × killscore bonuses. To earn the most, always fish with the best lure you can buy, finish kills in style, cook everything, and then sell.
Killscore multipliers
| Impressive | ×2.00 | 5+ other bonuses on one kill |
| 360 | ×1.50 | Spin 320°+ within 1 sec |
| Dogfight | ×1.50 | You and the fish both airborne |
| Explosion | ×1.50 | Dynamite kill |
| Killsteal | ×1.30 | Co-op: the receiver never hit it, fish under 30% HP |
| Longshot | ×1.30 | More than 25 units away |
| Headshot / Last Bullet / One Shot | ×1.25 | Each |
| Aerial / Fly Fishing | ×1.25 | You airborne / fish airborne |
| Overkill | ×1.25 | Damage > HP+70 (not bosses) |
| Endangered | ×1.25 | 🟢 species |
| No Scope / Quick Scope | ×1.20 / 1.10 | Hip-fire, or a fast ADS |
| Finally | ×1.10 | More than 5 shots fired in the fight |
| Point Blank | ×1.10 | Under 2 units |
| Multikill streak | ×1.05→1.50 | Kills within 3 s, max at 10+ |
| Melee | ×1.05 |
Each pair of options (No/Quick Scope, Longshot/Point Blank, the aerial bonuses) only counts one at a time. Easy combo: jump + spin + hip-fire the last bullet.
Money tips
- Cook everything to ×1.5. Use the grill on Islands 3 and 4, or the lava on Island 5, which can't burn anything.
- Late-game loop: Scientific Lure → stylish kill → lava → sell. The Goblin Shark ($6,200 base, ~$9,300 cooked) is the biggest single payout.
- Sell guns you've outgrown. The Knife is useless after Island 2, so drop it to free a slot.
- Dynamite + Beginner/Standard lures = fast multikills with ×1.5 Explosion.
- Washing a weapon in water removes cooking residue from it (1.0.10).
- Items left on the ground are saved, up to 64 (1.0.10), so you can stash spare food near boss arenas.
6The Islet Update (1.1.0): euros, Bow, Manta, Wishbone
Small islands now spawn randomly in open water between the main islands. They show up on the radar as small yellowish × marks, but only when you're near them. If you sail back and forth between main islands, different islets appear. These islets pay out in a second currency, euros (€).
🌴 Palm Tree Islet
A single palm tree. Grab the Money in a Bottle (worth €15) to get an achievement and your first euros. You can sell it or gamble it.
🛢️ Oil / Bridge Islet
Two rocks joined by a bridge, with a warning sign and oil barrels. Pick up the darker barrel standing apart from the others and throw it in the sea to summon the Manta (8,400 HP). It sells for euros.
🏹 Castle / Archery Islet
A small round fort with archery targets around it. It sells the Bow, arrow upgrades, and quiver upgrades for euros, plus 2 Bow skins (1.1.2). A robed NPC gives hints about euros, and there's a drip slot machine. A fully upgraded Bow reaches 500 damage and is great against the Manta.
🦴 Wishbone / Parkour Islet
Jump up a chain of rock pillars to the tallest one, where you can buy the Wishbone. It's a permanent upgrade for each player that raises your drip chance.
🦀 Crab Carcass Islet
It has Crab Carcass bait (3 spawns since 1.1.2). It catches the 8 new euro-value creatures, including the Squid.
| Wishbone level | Cost | Drip chance |
|---|---|---|
| None | – | 10% |
| 1 | €5 | 13% |
| 2 | €20 | 16% |
| 3 | €50 | 19% |
| 4 | €100 | 22% |
| 5 | €200 | 25% (max, €375 total) |
Costs are from patch 1.1.2, which changed Wishbone pricing. Drip chance is based on the Wishbone of whoever holds the rod.
7Secrets & easter eggs
- Bing Bong: On Island 2, look through the coconuts for one with a different color. Buy it and use it as bait to fight Bing Bong (2,000 HP, endangered). If you're lucky, you can get its evil form.
- Seagulls ($5) can't be caught with bait. You have to shoot them out of the sky.
- Bean achievement: beat the game with saved playtime under 1 hour. The 1-hour route is clams → Knife → Crab Rod → Hot Dog → Beer/Spider Crab → Shotgun → Piranha → SMG (no damage upgrades) → Pufferfish (skip the Shark) → Sniper → Tuna/Albatross → 5 Beers → AR → Whales. Skip motor upgrades if you're short on cash.
- Old shortcuts that took you straight to the Volcano have been patched out.
8Post-game: drips, Fishipedia & 100%
After the credits you can keep playing the same save with all your gear. Here's what's left to do:
✨ Drip (rare) variants
Each regular creature you hook has a 10% chance to be a Drip variant, or 25% with a max Wishbone. Bosses and mini-bosses can't be drips. Killing every drip creature is a Fishipedia achievement. Use the Fishipedia's bait hint (1.1.3) to find what you're missing.
🎨 Skins
Outfits and rod/gun skins come from the Reel of Fortune roulette and the drip slot machine on the Archery Islet. The Islet Update added a new outfit, and 1.1.2 made shiny rod skins shinier.
🏆 Achievement checklist
31 total. These include story clears, Drip, Dinnertime and other eating achievements, Rich! Millionaire, All In, a "kill a boss in 10 seconds" challenge, the Money in a Bottle, and Bean (under 1 hour). Burning a fish on purpose is only worth doing if an achievement asks for it.
👥 Co-op tips
Split up the jobs: one player farms fish while another cooks and sells. Let a friend finish fish you've weakened to get Killsteal ×1.3. Each player buys their own Wishbone, so plan who holds the rod.